Wednesday, February 6, 2013

Getting produce home plastic free


Now that I am trying to buy produce and dry goods more locally, I am purchasing a lot more products that are not pre-packaged.  Therefore getting these items home without spilling all over can pose a bit of a challenge. Sure there are plenty of plastic bags at the grocery store, but if I am buying products that don't have packaging then taking them home in plastic feels slightly self-defeating. I first toyed with the idea of taking my mason jars to the store with me, but that can be rather cumbersome. So, I purchased some produce bags online from chico to get me started.


When I received these bags in the mail I realized that they couldn't have been too difficult to make.  And even though they are nice bags and come in an adorable little easy-to-cary apple pouch,  honestly, for the price I wouldn't buy them again.  In my research this past week about ways to go green, I found countless DIY bag projects that recycle old t-shirts into cloth market bags.  Finally, I realized that I could likely do the same to make more produce/bulk bags.  I found a few DIY produce bag projects online, but many of them required a great deal of sewing.  So, since I'm not the best seamstress and I currently do not have a sewing machine (both facts that I hope to remedy this year), I decided to try amending these projects.

As a result, I created my own DIY produce bag project.  This is a much easier project, and I was able to complete it by hand (taking pictures included) in less than an hour.  Anyway, here it is.

And, seriously if I can do this, then truly anyone can!

DIY Recycled Produce Bag (aka Cotton Cinch Bag)

For this project you need only a few things and you probably have them all lying around.  First, you'll need an old undershirt, men's or women's doesn't matter.  The only qualification is that it must have a hem at the bottom.  Certainly if you don't mind the extra work of sewing a hem yourself you can use anything you want, but I purposely chose the hemmed undershirt for this project to avoid extemporaneous sewing.  Another reason I chose undershirts for this project is that almost all of these shirts are 100% cotton, the benefits of which include:

  • they are washable making them versatile in the variety of products they can hold
  • they are stretchy allowing you a lot of room 
  • they are absorbent allowing you to carry veggies that are frequently watered
  • they are a completely renewable resource


Here's a list of everything else you'll need:
  • Needle and Thread (or sewing machine if preferred)
  • Scissors
  • 1 safety pin
  • String of some kind-I used 100% natural cooking twine (A shoelace would also work nicely if you have some old shoes you're getting rid of.)


Step 1. Turn the shirt inside-out then fold in half.


Step 2. Cut off the top of shirt to make a curved bag shape. (this will become the bottom of the bag)

Step 3. Sew the bottom of the bag together along the curved line (be sure that you still have the fabric turned inside out or you will have an ugly seam on the outside of your bag.

After, completing the sewing. Turn right side out.  You should now have a loose bag 


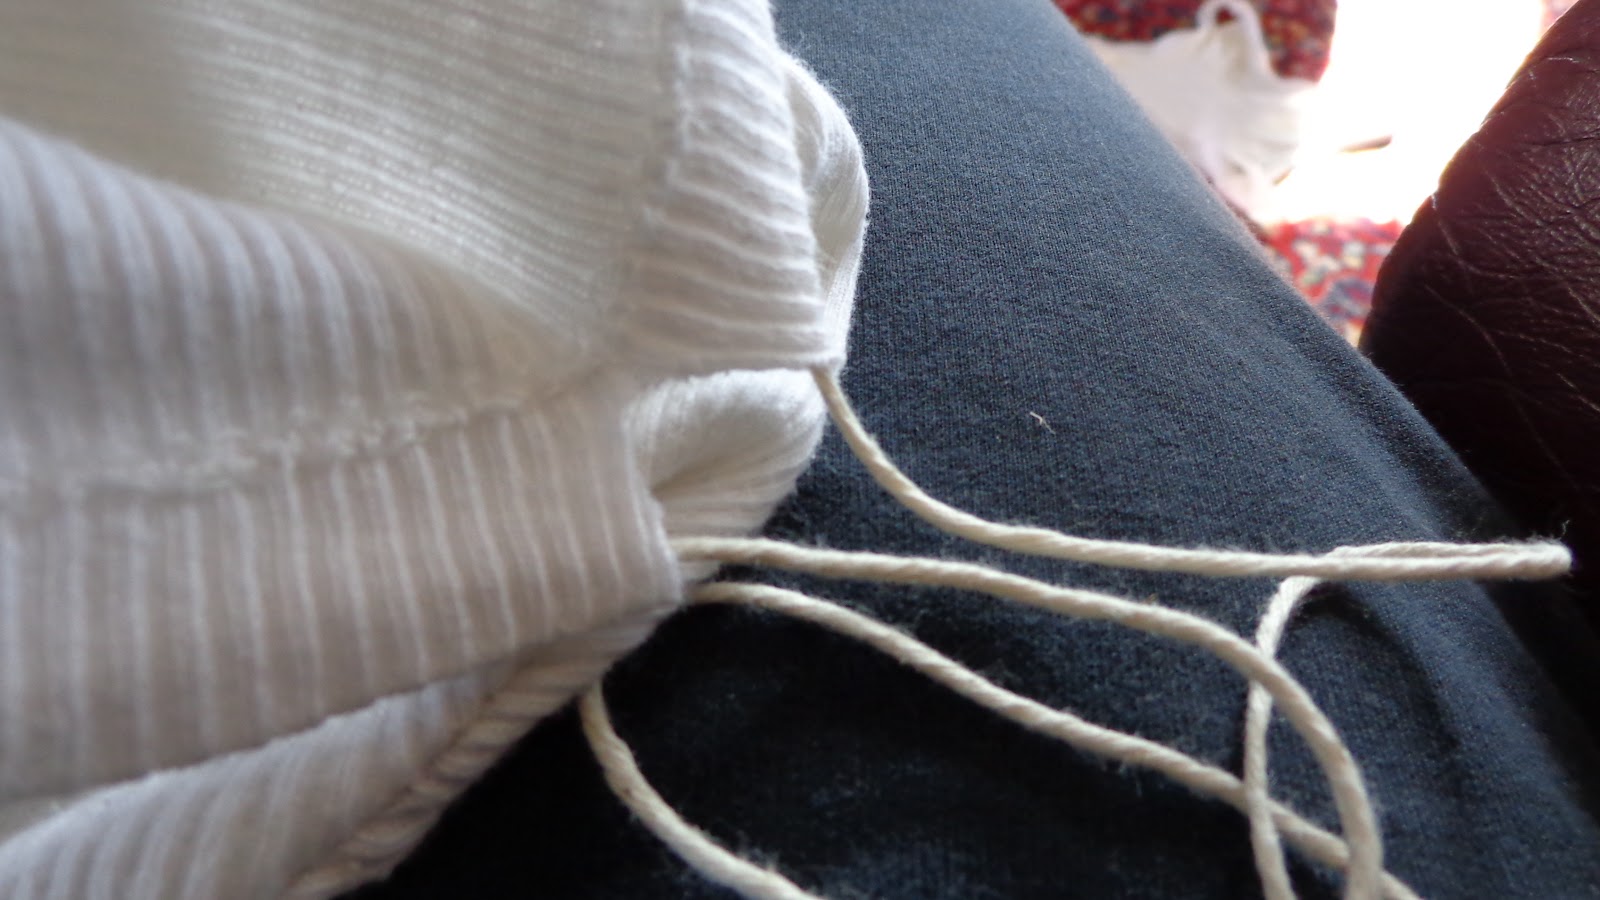
Step 4. Cut a small slit in the hem of the shirt but do not go below the seam. (This will be the top of the bag)


 Step 5. Take the twine/string and tie a knot at one end. Insert the safety pin through the knot. (do not shorten or cut the other side yet.


Step 6. Feed the twine through the hem of the shirt until it comes out the other opening.


 Step 7. Cut the string/twine so that it is long enough to hang out fully extended.  Tie the two ends together to form a cohesive round string.

 Step 8: Test it!  Pull the cinch tight to see if it works.  There you have it you're very own 100% recycled all natural reusable produce bag.

Step 9: Remember to take it with you to the market!


Friday, February 1, 2013

It's not easy being green

As many of you I am sure did, I too set new goals for myself in 2013.  One of my main goals has been to rid my life of the unnecessary waste so common to the American consumer.  In a word I'm trying to live... GREEN!  It is a hot issue in our society right now, but to be honest it is simply for me that I have realized, holding to the theology I hold to (I will say more on these issues as we go), my life should reflect it in large ways and small ways.  Thus, I was convicted to make some changes and learn to live a sustainable lifestyle.

This new mentality has been changing the way I shop, clean, and most importantly eat.  Eating green on a budget can be very difficult, but I am learning what is important and what things I can live without.  And, more importantly I am taking each step one at a time.

I am finding that when you take your time, plan well, and to be frank just don't eat a lot of meat, it is quite manageable.  There are plenty of ways to get all the proper nutrition you need, support local farmers, and live in a sustainable way.  This new adventure has already begun to transform my attitude toward food and life.   Not to mention that after some initial investing, I am starting to now save money.

I know that I usually post recipes and in the last year this blog has been very piecemeal, but I hope that this new focus in my life will offer a new focus for my blog.  I truly look forward to sharing this journey with you and hope to offer some great tips and recipes that I discover while I gradually change my habits and attitude.  In the meantime, please just allow me to encourage you to go green in some small way... here is a website I have found helpful: http://www.practicallygreen.com/.

Even though I must admit that I am making rapid major changes to my lifestyle, you don't have to do the same.  I have the luxury of living in a town that is very environmentally conscious and I am also single (in other words it's only my habits that need to be changed not the habits of my entire family).  And, you can start your journey to sustainable living today.  Just pick one small task on the Practically Green website that you don't already do and challenge yourself to make that one small change.  The site is even set up for you to be able to make baby steps or take leaps, you're choice.  If you set one new goal for yourself a month, I think you'll be amazed at how much your lifestyle has changed in a year.

Sunday, January 13, 2013

GF Bread Flour Recipe

It is finally here!

I have been working for a year now on Gluten Free flour mixes, and I have been promising for almost as long that as soon as I found a GF bread flour blend that worked I would post it.  Well, I've finally done it!

This GF bread flour mix is one that I have created after much trial and error, and it has most consistently produced the result that I wanted.  I was even able to make bread in a bread machine with this GF flour.  I am excited to share this recipe with you all because it was the final step in now being able to put together a GF cookbook.  I am working on some more recipes and will post some of those as I work on them, but now having a GF All-purpose flour recipe and a GF bread flour recipe I will be able to complete my dream of writing a GF cookbook that makes gluten-free cooking both delicious and easy for everyone!

Please let me know what you think as you use this recipe and tell me how you have used it.  The greatest resource at our disposal is community and the GF community is growing daily, so share your thoughts and recipes so we can learn and create together!

And now without further ado...

GF Bread Flour Recipe 
(c) Kristen Arnold 2013.

Yield 8 cups.
*Note: Make sure when measuring individual ingredients for blending sift all ingredients before measuring if using volume, but the best results are produced by measuring by weight on a kitchen scale.

1 cup (8oz.) Quinoa Flour
1 cup (8oz.) Oat Flour (be sure the producer specifies that the oat flour is GF)*
1 cup (8oz.) Arrowroot Powder
1 cup (8oz.) Potato Starch
2 cups (16oz.) Sorguhm Flour
2 cups (16oz.) Tapioca Flour (sometimes called Tapioca Starch)
1 Tbsp  Xanthan or Guar Gum

Blend all ingredients together well.  I recommend stirring in a large bowl with a fork for a first blend then sifting all ingredients together.


*A note about GF Oat Flour: Oats are one of the most cross contaminated products for people such as myself who don't struggle with a wheat allergy but merely have a gluten/wheat intolerance this is less of a concern.  However, I recognize that there are others with a more severe allergy to wheat and even in some cases oats because the biological make up of  oats and wheat are very similar.  I recommend GF oat flour because I think it provides an airiness to the breads it produces, however if you would like to stay away from oats altogether than I recommend substituting millet flour, this will make your breads slightly more dense, but it will still provide a great flavor.